In the kitchen
Dry the surface, give each piece room, and check the underside before increasing the heat.
Look, listen, check
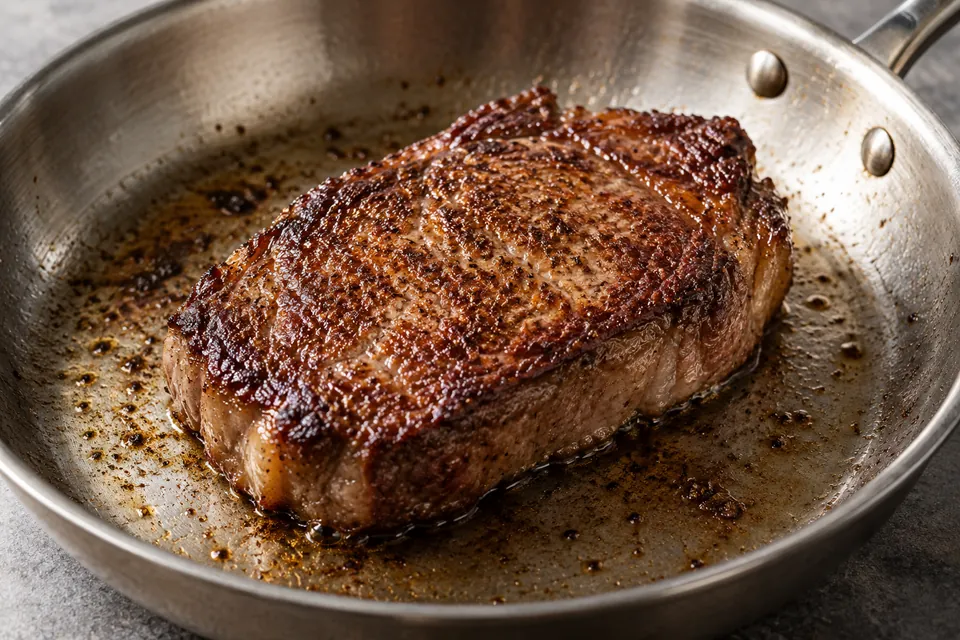
- The underside develops brown patches rather than remaining wet and pale.
- An edge can be lifted without tearing; release is a useful check, not a guarantee.
- Pan residue is brown rather than black; meat doneness needs an internal-temperature reading.
In this guide
Start here
A good sear is a balance between browning the outside and finishing the inside. Choose a flat piece that can contact the pan; a thick roast cannot be cooked through by crust-building alone.
Method
- Pat the surface dry. Use a clean towel or paper towel; keep anything that touched raw meat away from ready-to-eat food, following government handling guidance.
- Warm a Stainless Steel Skillet over moderate heat, following its care instructions. Add a thin film of Cooking Oil. Continuous smoke is a reason to lower the heat, not a target.
- Add food with gaps between pieces. Check one piece before filling the skillet. A sizzle is useful feedback, but inspect the underside rather than relying on sound alone.
- Leave the first side in contact long enough to gain color. Lift an edge gently. If it resists and nothing is scorching, wait briefly; if the residue is turning black, lower the heat.
- Turn and finish cooking. Once the surface has enough color, use gentler heat when the interior still needs time. Check meat with an Instant-Read Thermometer.
This is a practical adaptation of All-Clad’s stainless-steel cooking guidance, not a fixed burner setting or timing guarantee.
What’s actually happening
Surface browning develops flavor through the Maillard Reaction. Evaporation competes for heat when food is wet; Heat and Moisture explains why a crowded pan can behave like a shallow simmer. Modernist Cuisine’s explanation supports managing dryness and temperature together.
When to use it
Use searing for a browned face on meat, firm tofu, or broad mushroom slices. Fragile food, sugary coatings, and uneven shapes need more caution. A sugary marinade can scorch before the food is ready; remove excess marinade and watch the residue.
Sensory cues for done
Brown patches and a roasted aroma tell you about the surface. USDA guidance rejects color as a safety indicator. Follow USDA’s food-specific temperatures and rest requirements; the thermometer guide explains placement. Do not keep chasing a darker crust on food whose interior is already where you want it.
Common failure modes
Food Is Steaming Instead of Browning calls for a moisture and space check. Food Stuck to Pan separates waiting from forcing. Burnt Pan Drippings means the sauce foundation needs reassessment.
Equipment
Use a skillet large enough for the batch and a spatula that can lift an edge. Check pan, handle, and lid limits before any oven finish.
Related techniques
Sauté suits smaller pieces that need turning throughout. After searing, Deglaze can recover usable residue for a Pan Sauce.
Example applications
Brown mushroom slices for a sandwich, or sear a cutlet and finish it before building a sauce. Neither requires blackening the pan.